顯示具有 tutorial 標籤的文章。 顯示所有文章

2018年8月18日 星期六

【scrapbooking】dream


前陣子整理了一些已經洗出來好一陣子的舊照片
因為新加坡的night festival又要到來
決定先來做這系列在i light marina bay照亮濱海灣活動拍的照片
結果一查拍照日期竟然已經是四年前啦! Orz
看來我還是要認份一點趕緊把想要紀錄的照片洗出來才是!
雖然這類夜間燈光秀或是藝術展的活動頻率很高
但依然還是很期待看到不同藝術型態的呈現啊!

p.s.
若有朋友這段時間恰好在新加坡也可以去看看唷!
官方網站: https://www.nightfestival.sg/programmes


These are two of my favorite new dies from @sizzix_lifestyle , the wreath and the stars! 
I was trying to use them in the different way, and here it is!! 
Actually, I don't know how to make the real dream catcher, 
but I found so many beautiful patterns online. 
This is the one I feel easier to do. However, it still took me a while to get it done!! 
I have to say it looks great with my photos taken at the light festival four years ago.


=======================【scrapbooking】=======================

1.
Sizzix Lifestyle 寄來的這批新刀模裡
最喜歡的就是花圈和星星這兩組
但是誰規定一定就得做成花圈或是滿天星呢?
經過一個下午的奮戰結合兩個刀模的運用
捕夢網終於有點樣子了!!


2.
三支羽毛也同樣是Sizzix Lifestyle的刀模
而且剛好可以把一些比較小張的零碎紙張消化掉
再加上金箔的裝飾整個質感大提升呀!


3.
最後加上星星亮片和金色的噴劑
讓版面更金光閃閃一些
也符合這系列照片的主題囉!


2014年7月5日 星期六

【scrapbooking】bkk: postcard from BKK


七月份真的是好忙碌的一個月份
這是第一次幫More Card Challenge魔卡挑戰
做了一個小資教學示範:
利用零碎紙張製作自己的底紙
一點都不浪費唷!! :D
如果你也有興趣參加挑戰
趕緊follow More Card Challenge的FB頁面唷!


Yes!!! I had my first "step by step" tutorial done!!!!
This is specially made for More Card Challenge!!
Let's make our own patterned papers!!!
and of course, saving some money!!


================【小資人妻碎紙拼貼大變身step by step】===============

1.
收納盒裡的碎紙已經快要爆滿
為了消耗這些庫存決心來個拼貼大變身
這次挑出了以黃綠色調及旅遊為主的零碎紙張
要來製作自己的底紙!

It's time to clean up these leftovers!!!
This time, I'm going to make my own patterned paper
by using these small pieces!! :D


2.
選了平常不太會用的藍綠色底紙當底
再把這些碎紙隨意排列組合堆疊黏貼上去
看起來就有模有樣囉!

Based on the green and yellow ,
I found some travel theme leftovers.
Glue down all of these papers on the colorstock,
especially the color you don't use very often.

3.
不愛這個藍綠色的底紙
所以趕緊拿出白色gesso刷邊淡化整個頁面的色調
也讓整個版面看起來更柔和一些
For softening the color of the eage,
I added one of my favorite products, gesso!!!
and here is how it looks before and after!!!

4.
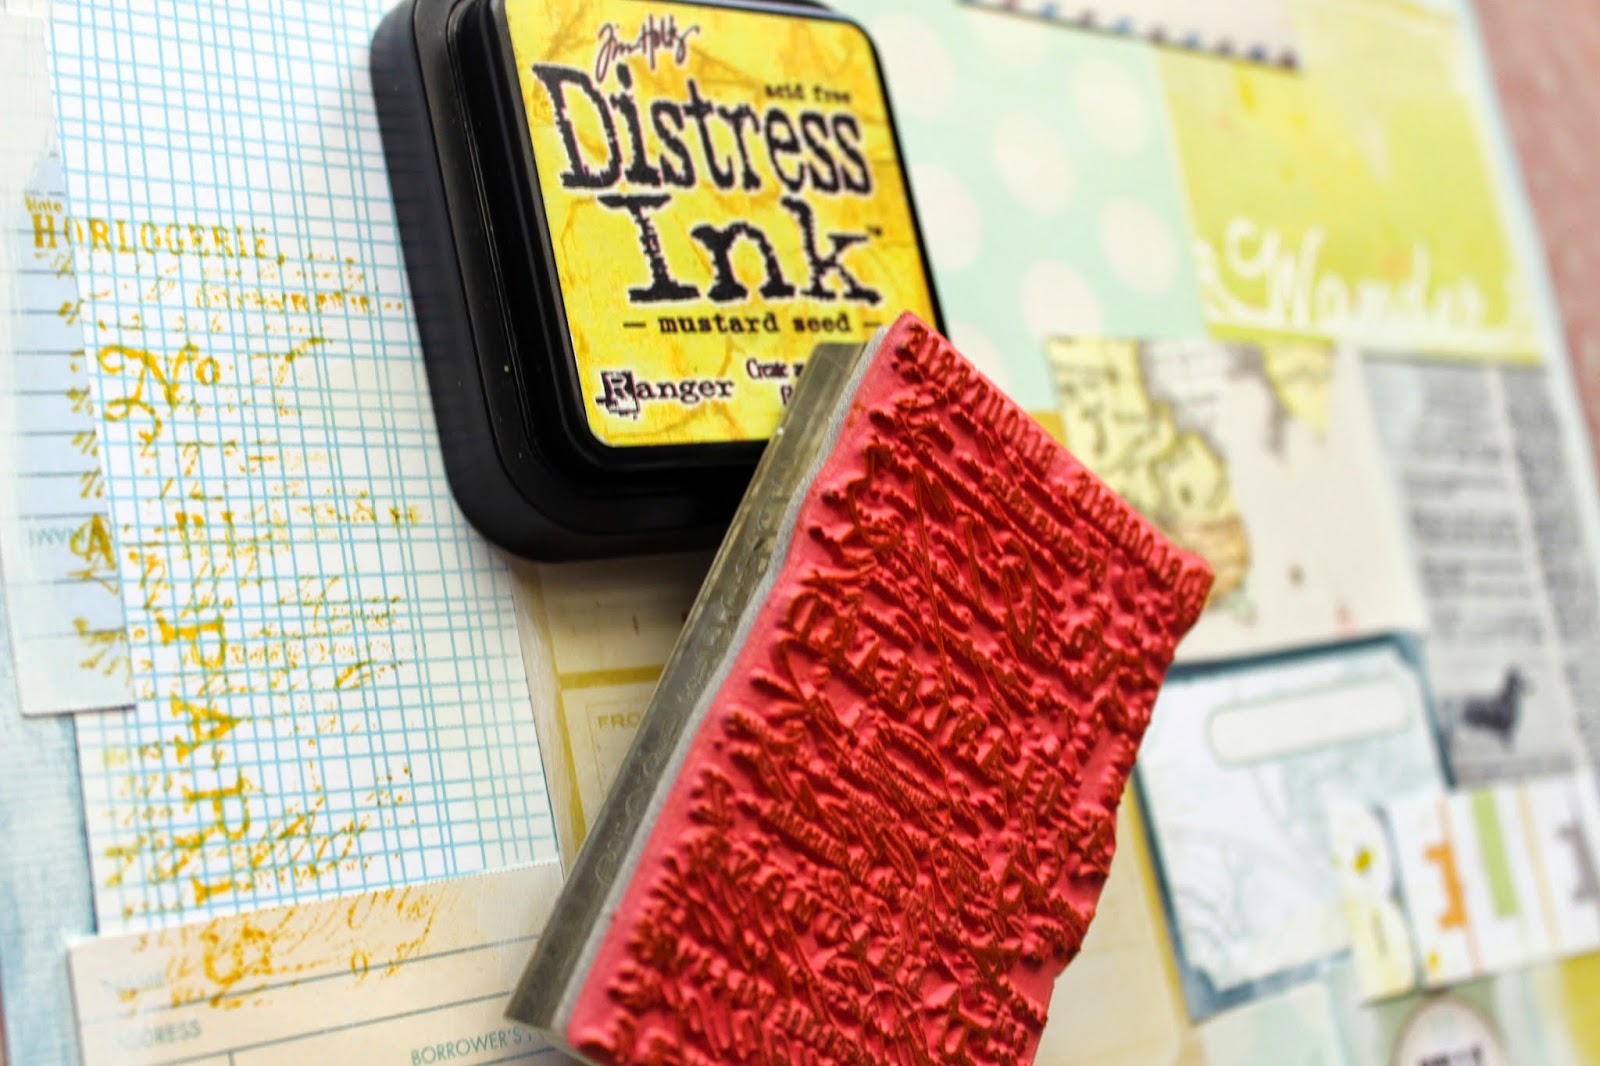
等白色gesso乾了之後
隨意蓋印上一些印章圖案
就更有味道囉!
After drying, I stamped a little bit as background
and I do love how it looks like in the end!


5.

有了自製的底紙
只要擺上照片加上標題
以及一些貼紙裝飾
就完成一頁相編囉!
I've done the most difficult part and
I got my own patterned paper!!!
YA!!!
And it's time to scrap!!!


7.
為了多放一張照片
所以利用紙膠帶做了翻頁
這樣也不會遮住辛苦完成的底紙囉!:p
Here is another trick for adding one more photo in the back!
I used washi to make a flip page,
and the good thing is that I can still show the whole paper
when I open it! 

8.
papers: crate papers/ studio calico/ others
stickers: basic grey/ teresa collins
alphabets: dear lizzy
stamps: tim holtz
inks: tim holtz
gesso: ranger